The main theme of this month’s WordPress news is measurement. Most of what shipped in July shows you something that your site was already doing without telling you.
WPForms can now show which form field people abandon, and AIOSEO can tell you the day a plugin sets your homepage to noindex. On top of that, WPVibe crossed 5,000 installs, and HelpJet launched as a new AI support chatbot.
Let’s take a look at what’s new in the world of WordPress for July.

WPBeginner Spotlight brings you a monthly roundup of the most important WordPress news, updates, and community happenings. 📅✨
Got something to share? Whether it’s a new product launch, a significant update, or an exciting event, reach out to us through our contact form, and your news could be featured in the next edition!
WPForms Launches Built-In Analytics to Track Form Performance
If visitors abandon your WordPress forms before submitting them, you’re usually left guessing what went wrong. Until now, there was no easy way to identify where people dropped off or why.
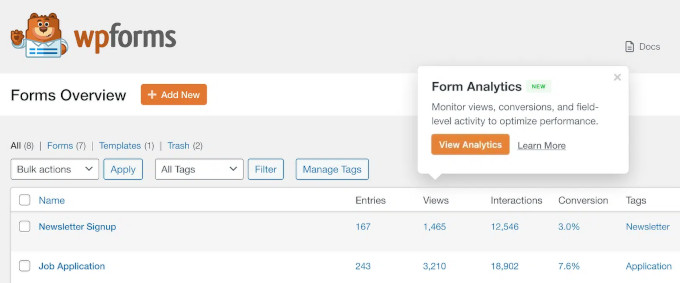
WPForms 2.0 changes that with WPForms Analytics, a built-in form tracking suite that lets you see where users abandon your forms right from your WordPress dashboard.
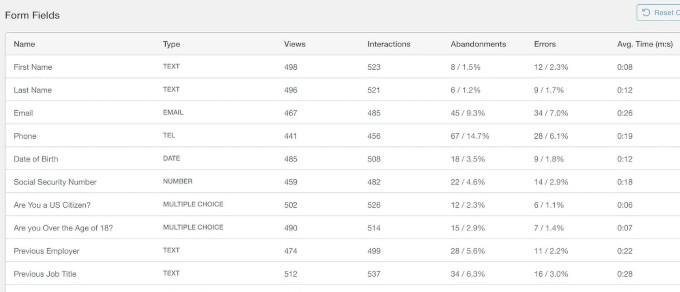
The most powerful feature is the field-level analytics. A field-by-field table shows interactions, time spent, errors, and abandonment for every part of your form. That tells you the exact point where people give up.
That might be a phone number field people do not want to fill, or an address field that throws errors. Once you know which one it is, the fix is usually simple: remove the field, reword it, or make it optional.
Your All Forms page now shows views, entries, and conversion rate for every form.
Each form also gets its own dashboard, with filters for the last 7, 30, or 90 days.
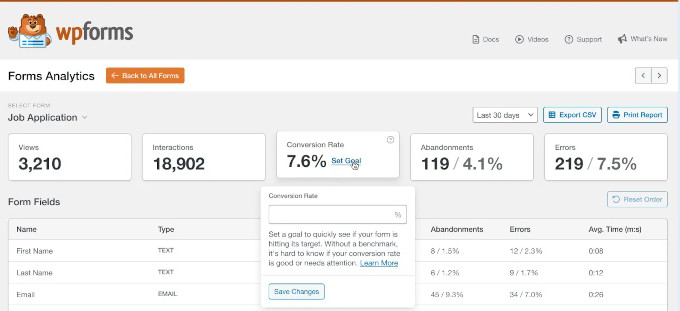
There is a built-in AI chat as well. You can ask it what is hurting your conversions, and it reads your form data and tells you what to fix first.
WPVibe Passes 5,000 Installs and Adds Page Builder Integrations, AI Code Snippets, and Memory
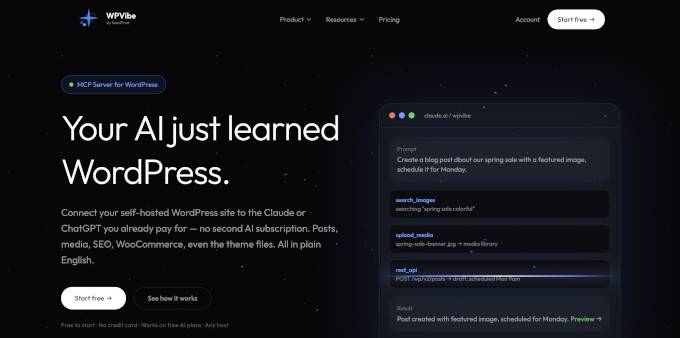
WPVibe, the WordPress MCP server built by SeedProd, has crossed 5,000+ active installs on WordPress.org.
WPVibe lets you manage your WordPress site by simply chatting with your favorite AI assistant. Instead of clicking through admin screens, you describe what you want, and the AI does it for you. It works with Claude, ChatGPT, Codex, Cursor, and more.
Here is what arrived in the last few weeks:
- Page builder integrations: Your AI assistant can now automate tasks in Elementor, Divi, SeedProd, and Beaver Builder.
- AI code snippets: Ask AI to write custom code for your site. That removes one of the most intimidating parts of WordPress for non-developers.
- Memory: WPVibe remembers how you like to run your site, so you don’t have to repeat yourself.
- AI recipes in your dashboard: WPVibe suggests ready-made automation ideas picked for your site.
Related: How to connect AI agents to your WordPress site
We believe that WPVibe is one of the more practical answers to the question of what AI can actually do for WordPress users. It handles the repetitive admin work, and you stay in control.
WordPress Ships Major Security Fixes
WordPress 7.0.2 came out on July 17 as a security release that fixed one critical and one high severity issue. Because of the severity, the WordPress.org team turned on forced updates for affected sites, so many sites are already patched.
The two security issues allow code to run on a default install without anyone logging in. Both are now in CISA’s catalog of known exploited vulnerabilities, so it is worth confirming your version rather than assuming.
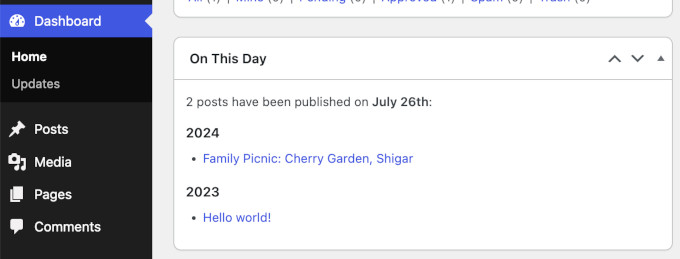
Head over to Dashboard » Updates and check the version you are on. If it reads 7.0.2, 6.9.5, or 6.8.6, then your website is fine. Otherwise, we recommend updating your website now.

7.0.2 also includes the earlier 7.0.1 maintenance release and its 31 bug fixes across Core and the Block Editor, so a single update gets you both.
HelpJet: The AI Chatbot That Answers Your Customers’ Questions in Seconds
HelpJet is a new AI support chatbot built by the team at HeroThemes, a WPBeginner Growth Fund company. It learns your help documentation and answers customer questions from it, 24/7, without needing anyone on your team to be online.
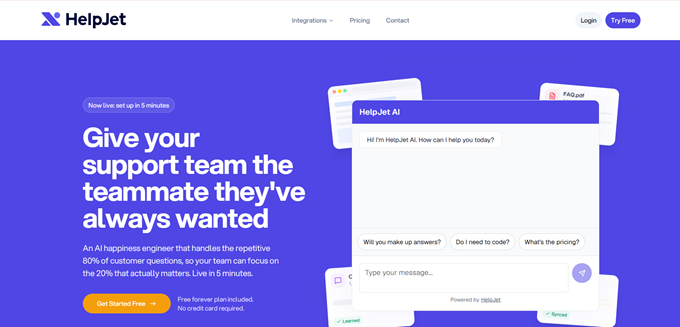
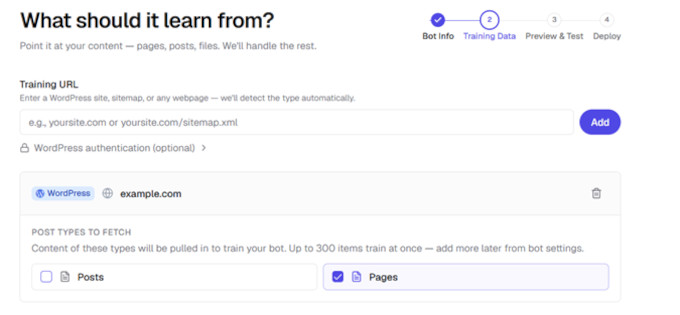
Setup is simple. You add your help articles, URLs, and even private standard operating procedures, and the chatbot is ready in about five minutes.
From there, it takes the repetitive questions off your team’s queue. Anything it cannot answer is passed to a human. HelpJet then learns from that reply, so it can handle the same question next time.
On a WooCommerce store, it can also read your product data, including variations, stock levels, and shipping and tax rules. So a shopper asking about a specific product gets a real answer, not a link to your policy page.
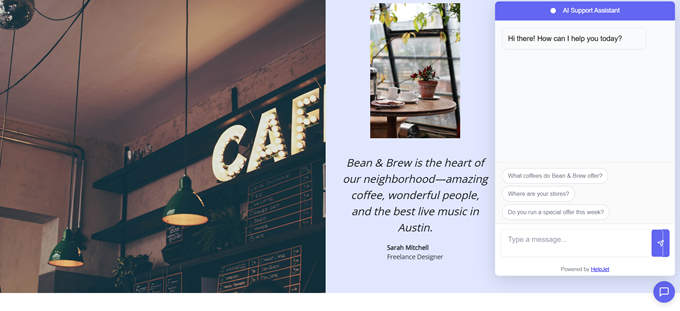
You can customize the chatbot and display it with no code required. It also runs on Shopify and Squarespace.
For more details, see our HelpJet announcement post.
AIOSEO Introduces SEO Alerts: An Early Warning System for Site Issues
Serious SEO problems rarely announce themselves.
For example, a plugin update can quietly set your homepage to noindex, which tells search engines not to list it. Or your robots.txt file may stop responding after a server migration, and Google pauses crawling until it can read the file again.
To solve this, All in One SEO, one of the most popular WordPress SEO plugins, has introduced SEO Alerts, which checks three things every hour: whether your homepage is set to noindex, whether your robots.txt file is reachable, and whether your XML sitemap is loading.

You can receive alerts by email or Slack. You configure it once, and AIOSEO monitors your site from there, so you hear about a problem within the hour instead of weeks later. SEO Alerts is free on every plan, including the free AIOSEO Lite version.
AIOSEO has also introduced Event and Job posting schema, available in all paid plans, starting with Basic. This schema is code that helps search engines show your events and job listings directly in search results.
ActiveLayer Launches for Easy Digital Downloads
ActiveLayer, the new AI spam protection service, has launched its Easy Digital Downloads integration. It checks product reviews and new customer registrations as they are submitted, and blocks the ones it scores as spam.
That matters most for reviews, since spam ones drag down the star rating shoppers see in Google. Reviewers who already bought the product skip the check, and checkout is not affected.
ActiveLayer also covers WordPress comments, the major form plugins, and signups on WooCommerce and membership platforms.
In Other News
- 404 to 301 is a complete and free redirect manager and 404 error monitor for WordPress. You can build custom redirects with exact, prefix, or pattern-based (regex) matching, send every remaining 404 to a page you choose, and keep a full log of broken links hitting your site. Optional email alerts tell you the moment a URL starts getting hit.
- WooCommerce 11.0 is now scheduled for release on August 4. The team postponed the original July 28 date after finding a fatal error during release-candidate testing. The update brings performance improvements for larger stores, better customer account and email flows, and improved reporting.
- SearchWP improves WordPress faceted search through a new WPFilters integration. Filtering now happens before ranking, so visitors can narrow results by category or post type while SearchWP keeps its relevance ordering intact.
- Advanced Coupons adds WordPress Abilities API support in version 4.7.4. You can connect an AI assistant like Claude Desktop and manage your WooCommerce coupons with plain-language requests, and the integration is included in the free plugin.
- WordPress.tv is now on Apple TV. Automattic released a free app that brings thousands of WordCamp talks, tutorials, and community sessions to the big screen. It is a relaxed way to learn WordPress from the people who built it.
- AIOSEO’s Broken Link Checker now detects dead YouTube and Vimeo videos on its paid plans, not just broken URLs. A deleted video still returns a healthy status code, so standard link checkers never notice, while your visitors see a black box where a tutorial used to be.
- WordCamp US 2026 is heading to Phoenix, Arizona, on August 16-19. Tickets include Contributor Day, Showcase Day, and two conference days with more than 50 talks and workshops.
- SaveTo Wishlist added a WooCommerce Gift Registry extension, so shoppers can turn any wishlist into a shareable registry for weddings and baby showers. A separate update brings default wishlists for new customers, Abilities API support, and on-demand analytics syncing.
- WooCommerce shared its plans to focus most of its product and engineering teams on the core plugin for the next three months. The team is re-reviewing a backlog of over 2,300 open issues and 500 pull requests, most of them filed by merchants and developers.
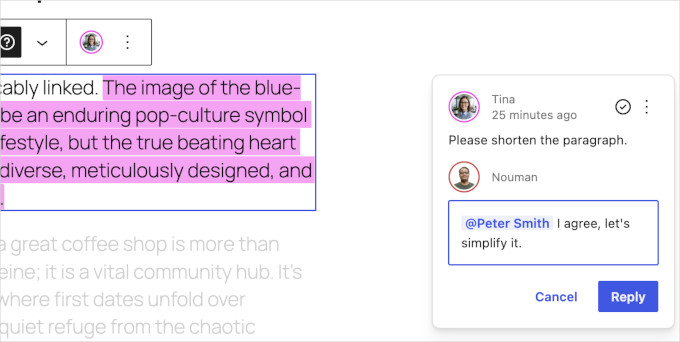
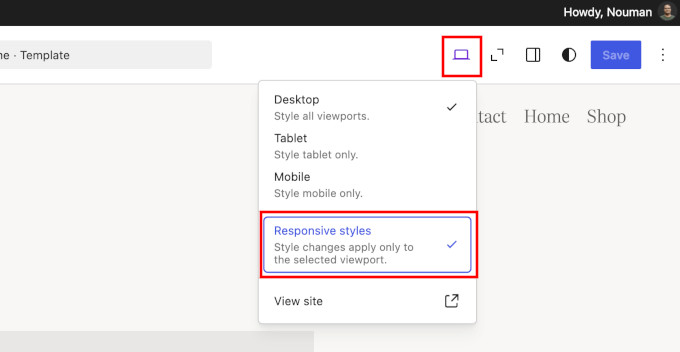
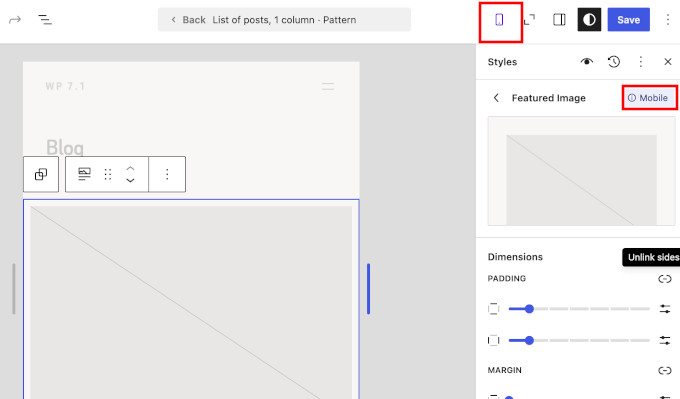
- WordPress 7.1 Beta 4 is ready for download and testing. As always, use a staging or local site rather than a production website. The final release is expected on August 19 at WordCamp US. For a detailed overview, see our article What’s coming in WordPress 7.1.
New Tools & Plugins
- HelpJet: An AI support chatbot that trains on your docs and answers customer questions 24/7. Works with WordPress, WooCommerce, Shopify, and more.
- ActiveLayer: AI-powered, server-side spam protection, now with native support for Easy Digital Downloads reviews and registrations. No CAPTCHAs required.
- WPVibe: Connect your WordPress site to Claude, ChatGPT, Cursor, and other AI assistants. Now with page builder integrations, AI code snippets, and memory.
- LedgerPort: A QuickBooks connector for WooCommerce and Shopify stores that matches your books to the payouts that actually hit your bank account.
That’s everything for this month. A security update to install, smarter analytics to explore, and a few new AI tools worth testing on a staging site.
If there is a story or a plugin you think we should cover in the next issue, then we would love to hear about it. Reply and let us know, and we will see you in the next Spotlight.
If you liked this article, then please subscribe to our YouTube Channel for WordPress video tutorials. You can also find us on Twitter and Facebook.
The post WPBeginner Spotlight 26: Form Analytics, More AI Tools, and Smarter SEO Monitoring first appeared on WPBeginner.
from WPBeginner https://ift.tt/jMtwIEV
via IFTTT